Happy Sunday to all of you beautiful people! I am excited to be back with yet another DIY blog! As many of you know, fashion is my creative outlet! I am definitely a fashion on a budget type of gal! If you are a lover of easy DIY’S– you have come to the right place! I have a ton of great fashion flips that will be coming to the blog soon.
Tie-Dye is a hot trend this year and most people don’t even realize that it is so easy to make your own creations at home! I was online looking at popular clothing stores to be able to give you guys some estimates and Urban Outfitters has some bleached tie-dye sets for around $49.00 a piece. Don’t get me wrong, if that’s your thing, go for it! But to be completely honest, you can buy a pair of thrifted sweats for a couple bucks, use an old pair at home that you already have, or buy a cheap pair on Amazon for less than $10.00 and literally make yourself the same outfit for so much less! If you are interested in seeing how I created the looks below– keep on scrolling!


Up first, you need a pair of sweats of any kind. For this specific method that we are using today (the reverse tie-dye bleached look), I would definitely recommend a darker pair of sweats so that the bleach shows up. The darker the pair you use, the more noticeable the tie-dye will be. I made them on a purple pair and also a black pair. As you can see from the above pictures, there is definitely a different look depending on the color you use.
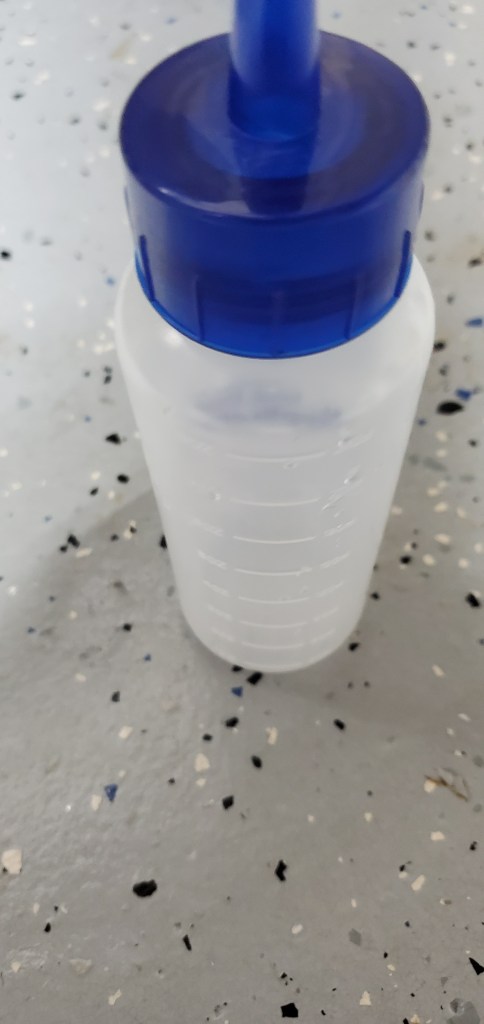
Besides a pair of sweats, there are very few products that you will use for this creation. You will want to have handy some rubber bands, bleach, water, gloves, and a hair dye bottle.
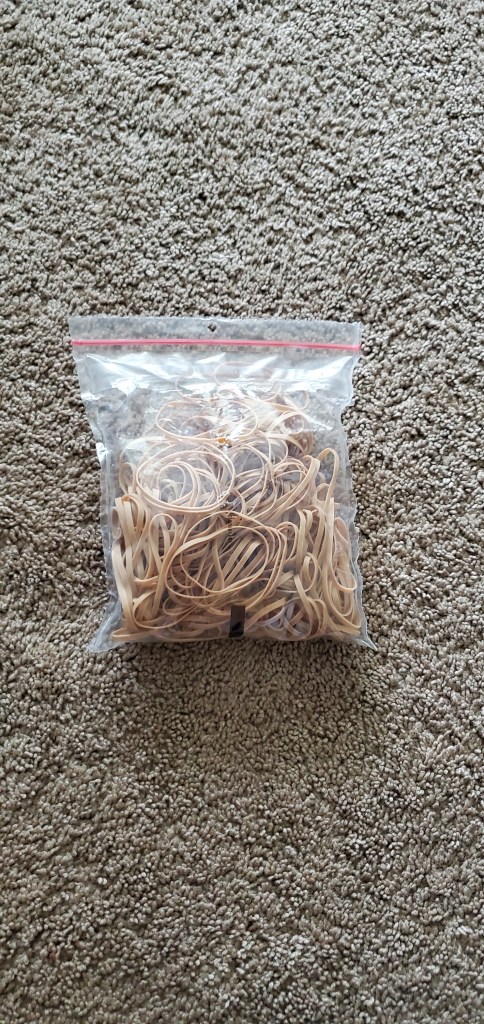

You will then want to take your pants and scrunch them up until they are all bunched up and then secure them in place with as many rubber bands as you need to make it feel in place.
Once you have your pants secured with the rubber bands, you will want to mix your bleach and water. I use a hair dye bottle and add in 4 oz of bleach and 4 oz of water. I then shake the mixture up really well and start to saturate the pants with the mixture. Make sure that you have gloves on to protect your skin, use a tub or sink in the basement, along with making sure you are in a well ventilated area. Once you have everything set up, squeeze the mixture all over the pants until it is fully saturated. For the black pants- you will notice a difference pretty fast and you will start to see the bleach working pretty much immediately. For the purple pants- I did have to add a little more bleach to help the color lift a little more. Use your judgement on how much of the mixture to use, but I never let it sit on that long.
Once the bleach gets to your desired shade, take the rubber bands off and throw the pants into the washer and then into the dryer and then you are all done!! You then have your completed look for around $10.00 versus $50.00.
Make sure to sign up with your e-mail to stay posted on all of my DIY fashion blogs and other posts. There will be a new one coming out this weekend! Thank you guys for reading– I am sending love to all of you!
Until next time– stay positive, stay weird, and stay hopeful!
Be still and know that I am God Psalm 46:10
xoxo, Bri
